Handheld Sewing Machine: A Comprehensive Guide
Welcome! This guide provides you with essential handheld sewing machine instructions․ This tutorial will help you learn from threading to maintenance․ Discover tips for optimal stitching and creative crafting․ Confidently use your portable sewing machine with our step-by-step instructions and troubleshooting advice․
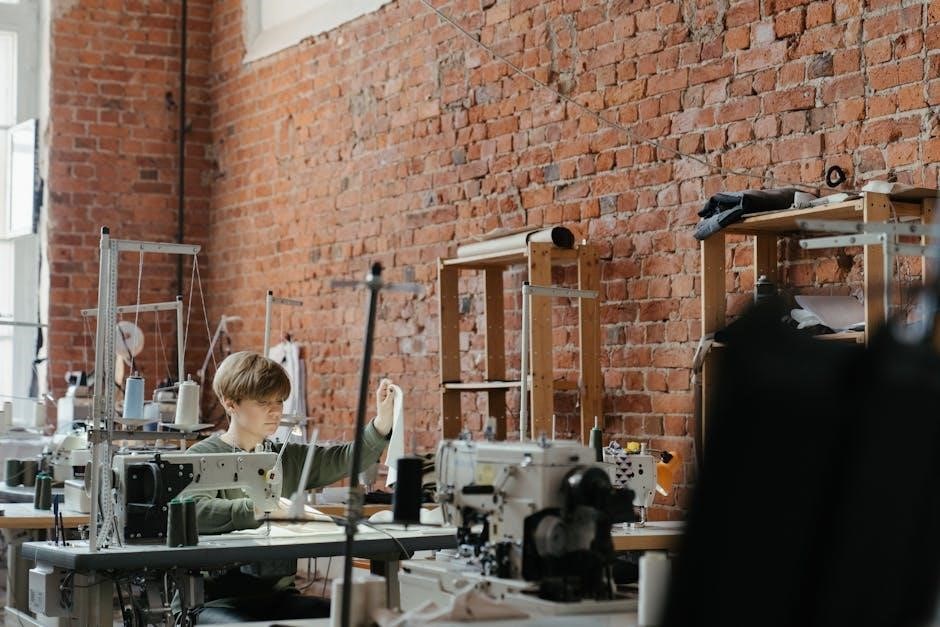
Understanding the Parts of Your Handheld Sewing Machine
Before embarking on your sewing journey, it’s crucial to familiarize yourself with the anatomy of your handheld sewing machine․ Typically, you’ll find a power switch for operation and a rotary wheel to control needle movement with precision․ The tension control allows adjusting stitch tightness, ensuring neat results․ A threader simplifies the often-fiddly threading process, saving time and frustration․
The spool pin holds your thread spool securely, while the needle clamp keeps the needle in place․ The sewing plate guides the fabric during stitching, and the feed dog helps advance the material evenly․ Also, be aware of the battery compartment, which usually requires four AA batteries for power․
Identifying these components will empower you to set up, troubleshoot, and maintain your device effectively․ Understanding each part’s function will make your sewing experience smooth and enjoyable, letting you tackle various projects with confidence and ease․ Remember to consult your specific model’s manual for any variations․
Setting Up Your Handheld Sewing Machine
Proper setup is crucial for optimal performance․ Begin by inserting four AA batteries into the designated compartment, ensuring correct polarity․ Next, attach the thread spool onto the spool pin, securing it in place for smooth thread delivery․ Ensure the needle is correctly installed with the flat side of the needle shank facing the front․
Double-check the needle’s alignment to prevent breakage or skipped stitches․ Position the bobbin case correctly, if applicable to your model․ Test the power switch to confirm the machine turns on smoothly․ Adjust the tension control to a medium setting as a starting point․
Place a scrap piece of fabric under the sewing plate for initial testing․ Before starting, make sure the machine is unlocked and ready for operation․ Taking these steps will ensure your handheld sewing machine is set up correctly, paving the way for successful and enjoyable sewing projects․ Always refer to your user manual for model-specific instructions․
Threading the Handheld Sewing Machine
Threading your handheld sewing machine correctly is essential for smooth operation․ Begin by placing the thread spool on the spool pin․ Guide the thread through the thread guide, ensuring it sits securely․ Next, carefully thread the needle from back to front, leaving at least two inches of thread extending through the eye․
If your machine has a tension disc, make sure the thread passes through it․ For models with a bobbin, follow the specific instructions for bobbin threading, ensuring the bobbin is properly seated in its case․ Gently pull the thread to confirm it moves freely without snagging․
Double-check that the thread is correctly positioned in all guides and tension points; Before starting to sew, test the threading by manually turning the handwheel to ensure the needle moves smoothly and catches the thread․ Proper threading prevents tangles, skipped stitches, and ensures consistent stitch quality․ Always consult your user manual for detailed diagrams and instructions specific to your model․
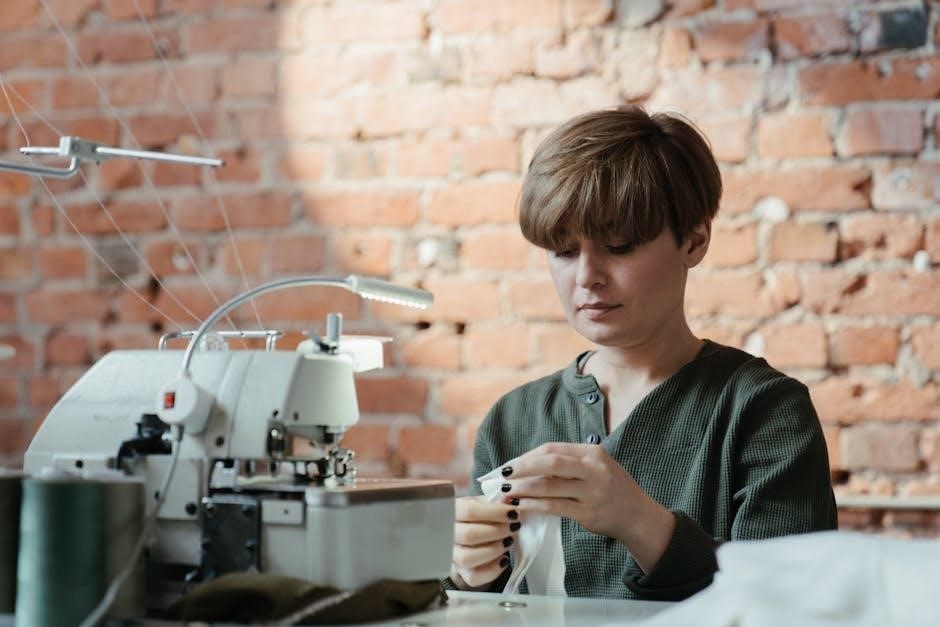
Operating the Handheld Sewing Machine: Step-by-Step
Operating your handheld sewing machine involves a few simple steps․ First, ensure the machine is properly threaded and the batteries are correctly installed, if applicable․ Place the fabric you wish to sew under the presser foot, aligning the edge along the desired seam line․ Gently lower the presser foot to secure the fabric․
Hold the machine comfortably in your hand, supporting the base with your fingers․ Turn the power switch to the “on” position․ Begin sewing by gently guiding the fabric forward, allowing the machine to feed the material․ Maintain a consistent speed and avoid pulling or pushing the fabric too hard․
For straight lines, keep the fabric aligned with the edge of the presser foot․ To change direction, stop the machine with the needle in the down position, lift the presser foot, rotate the fabric, and lower the foot again․ When you reach the end of your seam, stop the machine, lift the presser foot, and remove the fabric․ Cut the threads, leaving a small tail․ Secure the stitch by tying a knot or backstitching if your machine has that feature․ Practice on scrap fabric to get a feel for the machine’s speed and tension before working on your project․
Working with Different Fabrics
Handheld sewing machines can handle a variety of fabrics, but understanding the properties of each material is key to successful stitching․ Lightweight fabrics like cotton, silk, and linen are generally easy to sew with a handheld machine․ Ensure the tension is properly adjusted to prevent puckering or skipped stitches․ For delicate fabrics, use a fine needle and a slower sewing speed to avoid damage․
Medium-weight fabrics like denim and corduroy may require a sturdier needle and a slightly higher tension setting․ Test on a scrap piece first to ensure the machine can handle the thickness without difficulty․ Avoid sewing multiple layers of heavy fabric, as this can strain the machine and lead to breakage․
Thick or stretchy fabrics like fleece, knit, and leather are more challenging․ You may need to use a specialized needle designed for these materials․ When working with stretch fabrics, gently stretch the fabric as you sew to prevent bunching․ Leather requires a leather needle and a slow, steady pace․ Always test your settings on a sample piece to achieve the best results for each fabric type․
Adjusting Tension for Optimal Stitching

Achieving the perfect stitch with a handheld sewing machine often relies on proper tension adjustment․ Tension refers to the balance of thread pull between the top thread and the bobbin thread; When the tension is balanced, the stitches will appear even and consistent on both sides of the fabric․
If the top thread is too tight, it will pull the bobbin thread to the top of the fabric, creating loops or puckering on the underside․ Conversely, if the bobbin thread is too tight, it will pull the top thread to the underside, causing the top stitches to be loose and uneven․ To adjust the tension, locate the tension control dial on your machine․ Make small adjustments, testing the stitch after each change․
For tighter stitches, increase the tension slightly․ For looser stitches, decrease the tension․ Always test on a scrap piece of the same fabric you plan to sew on․ Proper tension ensures strong, neat stitches and prevents common sewing problems․ Keep experimenting until you achieve the ideal balance for your project․
Tying a Knot to Secure the Thread
Securing the thread at the end of your seam is crucial to prevent unraveling․ With a handheld sewing machine, this is typically done by manually tying a knot․ Start by lifting the presser foot and gently pulling a few inches of thread out from the machine․ Next, carefully remove your fabric from under the needle․
Take the top thread and the bobbin thread and cross them over each other to form a loop near the fabric’s edge․ Thread the ends of both threads through this loop․ Gently pull the threads tight to create a secure knot close to the fabric․ Ensure the knot is snug but not so tight that it puckers the fabric․
For added security, you can repeat this knotting process a second time, creating a double knot․ Finally, trim the excess thread close to the knot, leaving a small tail to prevent the knot from slipping․ This simple technique ensures your stitches remain intact, providing a professional and durable finish to your sewing projects․
Troubleshooting Common Problems
Handheld sewing machines can sometimes present challenges․ One common issue is thread breakage, which often stems from incorrect tension settings or using the wrong type of thread for the fabric․ Ensure the tension is properly adjusted and try a different thread․
Skipped stitches are another frequent problem․ This can occur if the needle is damaged or not correctly inserted․ Replace the needle, making sure the flat side of the shank faces the front of the machine․ Also, check that the fabric is properly fed through․
If the machine jams, stop immediately․ Remove the thread and bobbin, then carefully clean any lint or debris from the mechanism․ Re-thread the machine, ensuring each step is followed correctly․ Uneven stitches may indicate inconsistent fabric feeding․ Maintain a steady hand and guide the fabric evenly․
If problems persist, consult the user manual for specific guidance or seek online tutorials for visual assistance․ Regular maintenance and careful operation can minimize these issues․
Maintenance and Care for Your Handheld Sewing Machine
Proper maintenance ensures your handheld sewing machine operates smoothly and lasts longer․ Regularly clean the machine to remove lint and thread buildup, which can cause jams and affect performance․ Use a small brush or compressed air to clean around the needle and bobbin area․
Lubricate the machine occasionally with sewing machine oil․ Apply a small drop to the moving parts as indicated in your user manual․ Store the machine in a clean, dry place, away from dust and moisture․ When not in use, cover it to protect it from environmental elements․
Check the needle regularly for damage․ Replace bent or blunt needles to prevent skipped stitches and fabric damage․ Replace the batteries when sewing machine power is low․ Periodically inspect the thread tension and adjust as needed to maintain consistent stitch quality․ Following these steps will keep your machine in top condition․
Creative Crafting with Your Handheld Sewing Machine

Unleash your creativity with your handheld sewing machine, perfect for a variety of small projects․ Create personalized patches to add flair to clothing, bags, or accessories․ Design unique embellishments for home décor items like pillows, curtains, and table runners․ Repair ripped seams or hems quickly, adding a touch of personal style․
Craft charming handmade gifts such as fabric bookmarks, small pouches, and decorative ornaments․ Experiment with different fabrics and thread colors to produce eye-catching designs․ Make cute accessories like headbands, scrunchies, and mini-wallets․ Use your handheld sewing machine to create one-of-a-kind fabric collages or appliqués on larger projects․
Customize old clothes by adding decorative stitching or embellishments․ Whether you’re a beginner or an experienced crafter, a handheld sewing machine offers endless possibilities for creative expression․ Enjoy the convenience and portability while bringing your imaginative ideas to life․